Tuesday, 24 January 2012

Lil' girls Reversible Apron

 ~Fully reversible Sweet lil' helper Apron ~


This one was made to "match" some of the other special order aprons.  One of a kind!
These sell for $15 each.
They are so much fun to make!

Monday, 23 January 2012

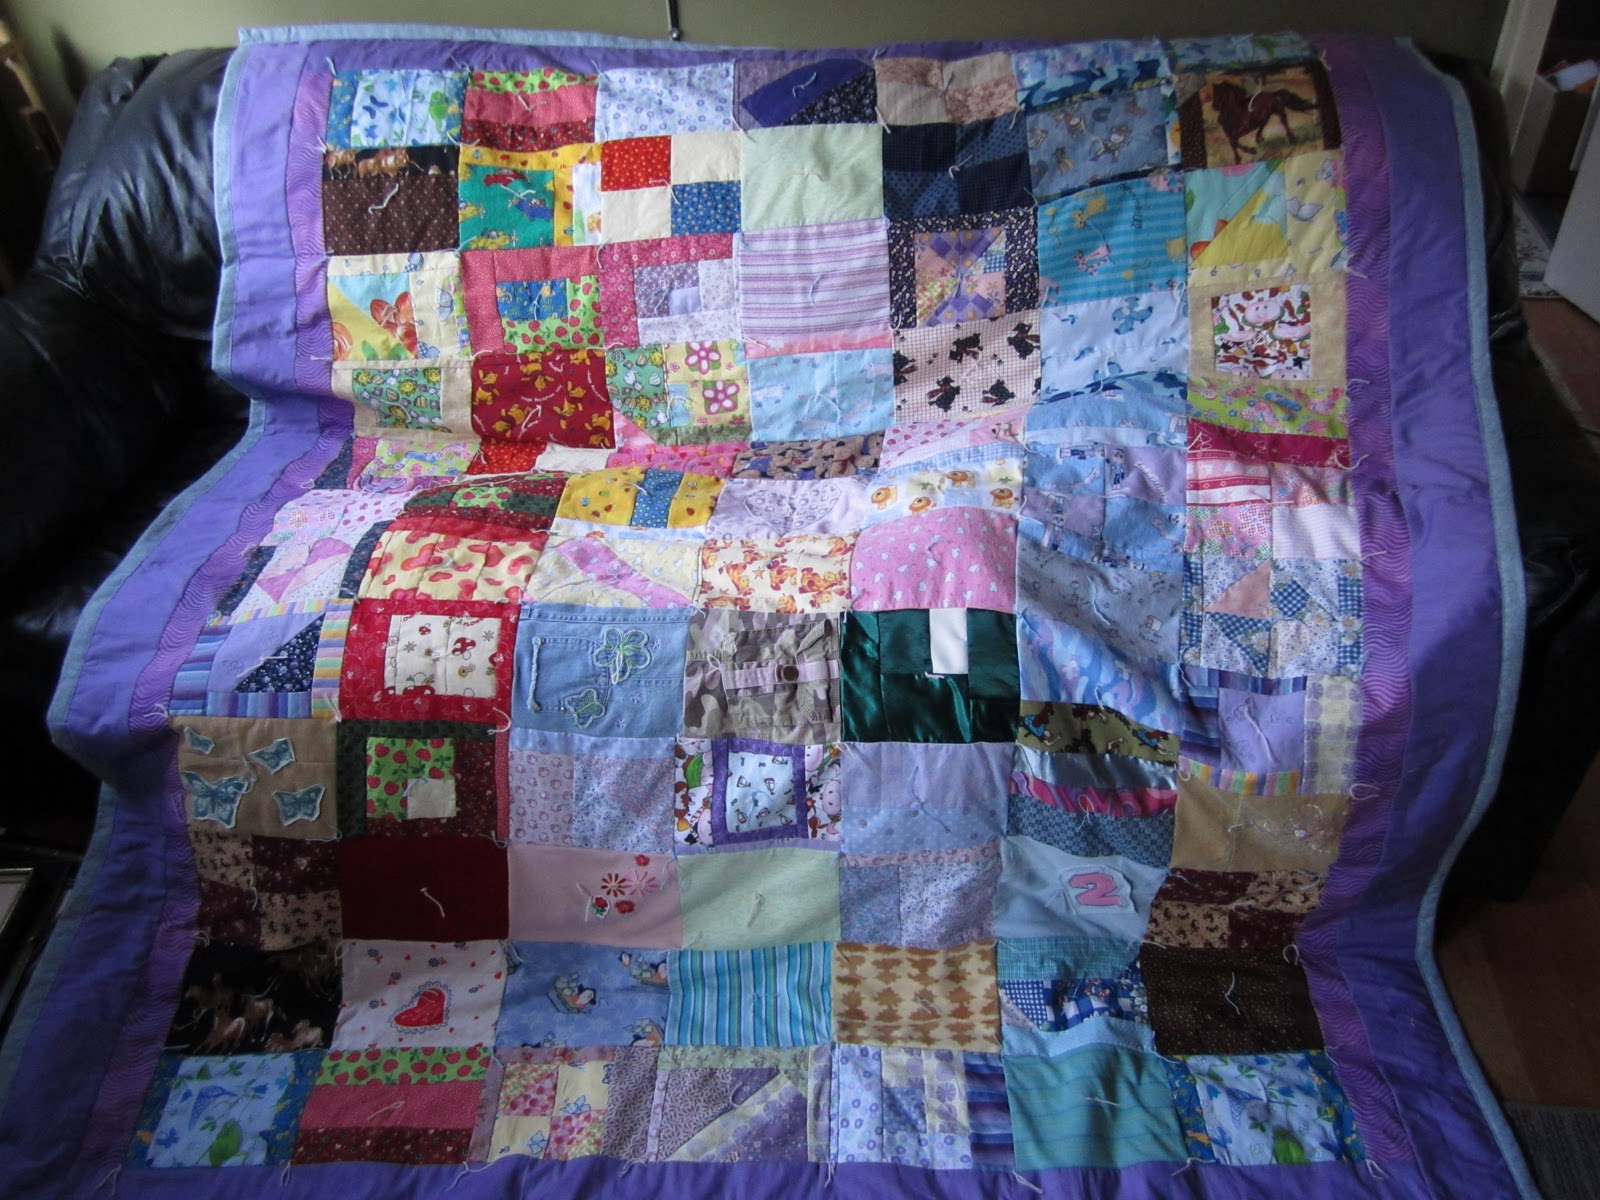
A little girls memory quilt

Mei's Memory Quilt ~ Completed!
Well, the long wait is over since this beginning post for Mei's special Memory Quilt.
The rush was on, as she wanted it done for her birthday in September and also wanted me to display it at the local Fall Fair.  They displayed it upside down...but hey, maybe some people were inspired to use their children's old clothes the same way.


Mei's favorite square ~ she says it looks like a butterfly.

First time doing Mitered Corners.  Found a tutorial on YouTube.
   
 We used Warm N Natural Cotton fill.  It is in one big sheet and doesn't require so much sewing to hold it together.  Perfect for tying.   It's also a little more God-made and not man-made :)
Flannel backing lying right side down.  Wrong side up.  Getting
cotton fill ready.
 NOTE:  Don't use clear tape to tape your backing to your floor.  I ran out of masking tape and thought it wouldn't be a big deal...I have tried 4 different things to get the goopy sticky mess off my floor ~ YUCK!
I made the blue flannel backing a little larger (about 3.5 inches) so I could fold
it and use it for the binding as well.  Flannel backing makes it really soft
and cuddly.  Tape this to the floor to make sure it doesn't move around.

Lying the bottom right side down.  Then cotton fill.  Then quilt top.
This is called a "sandwich".

Lots of pins to hold in place.
The cotton fill should be a little wider than the quilt top

It helps on a larger quilt to fold it and unfold as you tie

 We tied the quilt with some yarn and now that I have received my walking foot for my old Singer sewing machine, we'll draw some designs around the purple edging and I'll sew that.  It will help it stay together...so this will have to be continued yet again!
Finishing the tying.

The idea with a quilt like this to use up scraps of their favorite materials, clothing, etc they had as babies.  Due to that, no pieces are really the same and it lets the child use their imagination as to where they like to place the pieces.  Just sew them in blocks that are the same dimensions and go for it!


Nearly finished product...
Showing the flannel backing and quilt top
Happy Child!  Mission accomplished!
My grad dress, clothes from Aunts and Uncles.
Baby clothes, her favorite pants pocket...
 Linked on Above Rubies

Sunday, 22 January 2012

Little Girls Outfits

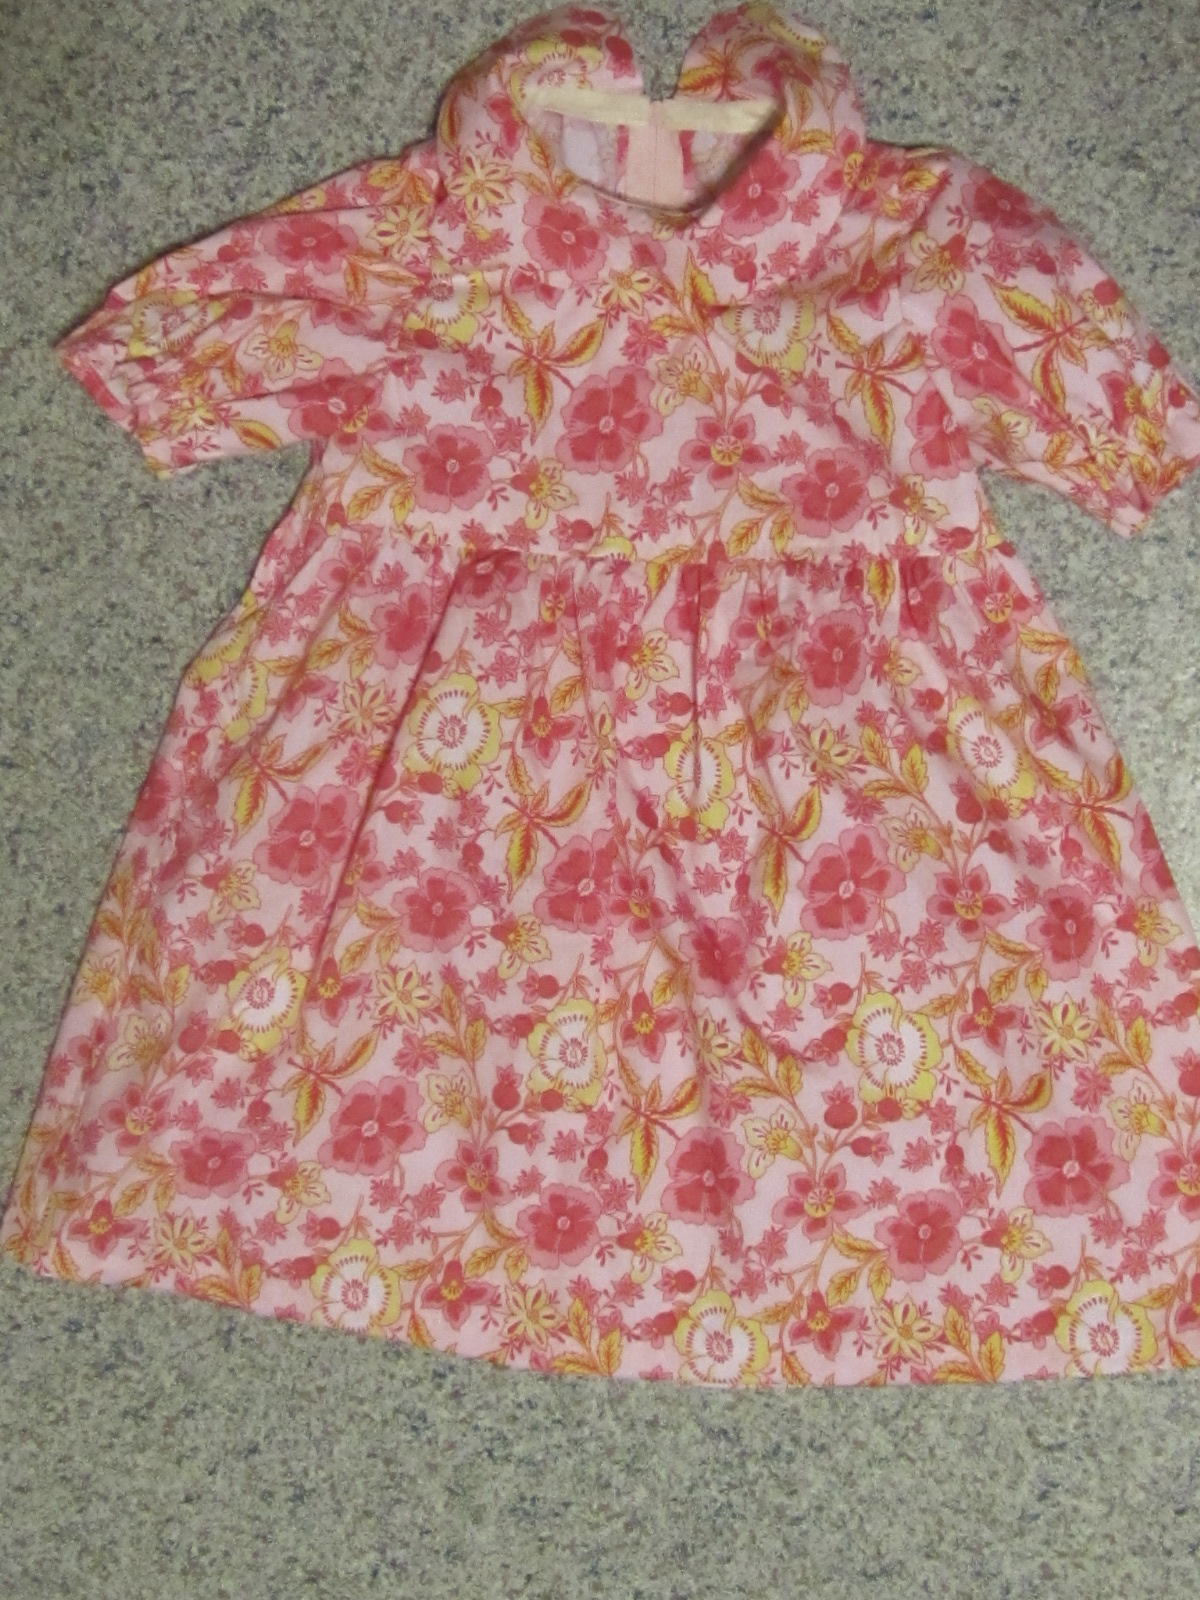
Sewing little girls dresses and pinafores ~ Holly Hobbie fun!

    I had the joy to be able to get out some of my old sewing patterns from thrift stores, etc and get creative.  Another wee little niece was born unto my hubby's sister, so the girls and I thought that somewhat matching outfits would be cute.  We think they turned out well.  I did some adapting in length, but that was it.  One pattern was missing the sleeves, etc, so I improvised as I could, but I'm not real comfortable with that.  The biggest problem I have is knowing what size to sew.  Go for a tad larger, then they grow into it at least.  I choose size 2 for the "big sister" who is 2 years old and petite.  Choose Newborn size for the baby who last I heard was 8.5 lbs.

Newborn size, seems large.  Reversible with bloomers
Ruth's corduroy pants, real sheep fleece felted for a tail
 Wanted to use little bunny buttons, but being reversible, they would really poke.  As it is, I think she may need to change the tail as well.  Quilting fabric came in handy.  Girls helped pick out everything.  "Not too pink for Uncle, but pink enough for J"
The other side, green swirls from our girls quilts.  Blanket stitched with embroidery floss around the bunny while we watched Vancouver play some fun hockey!

This was a favorite pattern because it was so easy when I was first learning to sew.  Made it even easier using ribbon for the ties so it can be adjusted.  Either a shirt or a little short dress.  Used antique rick rack for trim, not an itchy lace fan myself.  Sewed the bonnet to match either outfit hopefully.  Girls wanted S to be able to match with her big cousins if they get to play anytime soon.  The bloomers also have an edging of rick rack along with the bonnet brim.

Can you tell I love the look of rick rack?
The Holly Hobbie pattern, basic dress, made some sleeves for it.  Couldn't find a zipper foot...ah, the stress of it all!  ha ha.  Managed just fine and it worked out.
If it is too small for the 2 year old, the newborn will grow into it or her Mommy can chop it up and use it for something really cool and creative.
 Eyelet pinafore.


 Kate thought these little pink hippos were perfect to finish the outfit off, and I'd agree.  Gotta get more creative in my sewing!

Had oh so much fun sewing these!  Can't wait to get sewing more again.

Finished product, unwashed, but ready to mail away.